
by Brian Van Liew
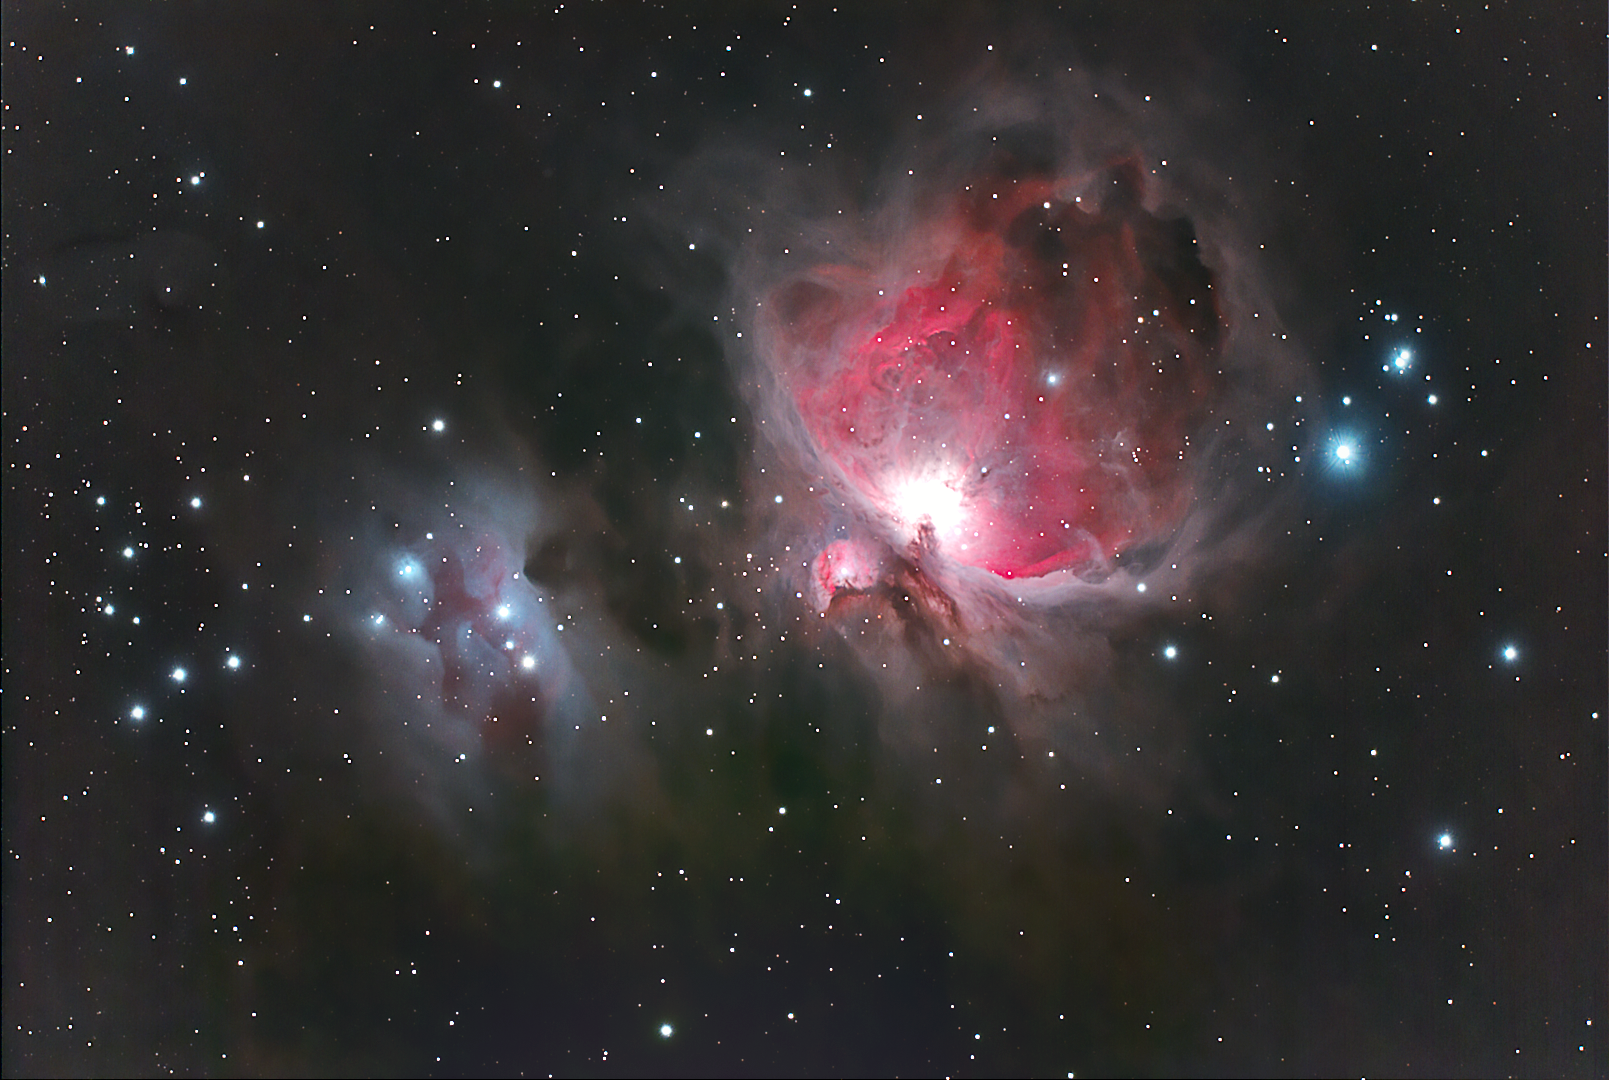
M42B. Credit: Brian Van Liew
Mid-December I had a chance to get out under a clear moonless night to do some imaging. It started out as night for imaging comet Lovejoy. I had a map showing its approximate location for each day. After some time searching with no success. I wasn’t going to let the night be a wasted effort. I had a clear shot at Orion so I set out for M42 – The Great Orion Nebula with my new camera. I had acquired a new tool to focus my scope, and this night was going to be my first attempt at using it with my new Starlight Xpress camera. I wanted to use a Bahtinov mask for focusing. I had used these masks on other OTA1s with my DSLR, but this was the first time using one with my new camera. The mask creates diffraction spikes that tell you where you are in focusing the scope. Short test exposures would reveal the diffraction spike pattern, which one can easily interpret on the laptop screen. After a few test shots I was able to get my setup in focus, and it was time to click. Argh! Clouds! Yes, a bank of clouds had snuck up behind me and covered my skies. It was now a waiting game to see if this was going to be a short term hold up or a deal breaker for the night. In about a half hour, the cloud cover left as quickly as it came. So I went back to my rig to pick up where I had left off. I slewed my mount, and once it came to rest, I took a test shot again to see if I was on target. I wasn’t happy with the framing of the nebula. If I played my cards right I could move the mount manually to allow me to get the Running Man Nebula in the image, which is next to the Orion Nebula. So I watched the planetarium software on the laptop as I moved the mount by hand. It would show me in real time where the mount is pointed. I took another test shot and bingo. It looked good so now was showtime. I got my guider running and set the laptop to image for 2 minute subframes and take a total of 60, which would give me a total of 2 hours on the image. Being that M42 is bright as far as DSO2s go, I did not want to go any longer as I was already saturating the Trapezium area. I was willing to sacrifice this because I wanted to get the finer dimmer wisps of the nebula. After I checked to make sure I didn’t leave the mask on the imaging scope (been there, done that) it was time to let my setup do its thing.
After all the images where taken I rolled the rig into the garage and called it a night. Next evening I aligned, stacked, averaged and calibrated the 60 captured images of the nebula using Astro Art5. This is also what I use to run the imaging and guiding camera. I then use Photoshop to tweak the final image to what you see here.

