
by Brian Van Liew
I started out imaging with various mono Starlight Xpress cameras years ago, but over the past few years, I have been imaging with a modified DSLR. Recently, I picked up an older camera and had the chance to see how rusty my imaging skills have gotten. The Starlight Xpress SXV-M25C is a model that I have been looking for but never found for sale. It is a few years old, and there are newer versions of it available now. However, I was quite happy to get the older version. I bought it used on Astromart from a fellow who lives in Poland. I spent many days emailing with him to discuss the purchase. Once I pulled the trigger, it only took a week to make the trip to me. It was in good shape and made the trip without any issues.
Now I needed to run the camera to see if it was in working order. I had to spend time with my friend Bill Nagel who also has experience with Starlight Xpress cameras to get familiar with a software package that I had not run in many years. After a visit and a few emails between us, I was ready for some serious first light.
I selected an object that was in the best part of the sky at my home, which is from zenith to west/northwest. I configured my imaging rig for the appropriate FOV to cover the object and get a good image scale with the sensor in my new camera. I choose to go for IC 5146 a.k.a. the Cocoon Nebula. I set up my rig on my driveway and prepared for the imaging session. I was able to get it up and running without any big problems. My guiding looked good so now it was time to gather the subs. After a test shot to verify the pointing and the focus, I set it up to take fifty 300-second images for a total exposure time of over four hours. I pressed go and off it went. There was nothing more for me to do but catch up on a TV show and to check once in a while that everything was going according to plan. After the 50 subs had been collected, I moved my rig into the garage. Now that I had the lights (sub images of the Cocoon Nebula), I need to take three darks of the same exposure time of 300 seconds, several bias frame subs and flat field subs to correct for any imaging train vignetting and dust spots on the sensor. Then I’m off to bed to get some rest.
The next day I aligned/stacked and calibrated the light subs on my PC. Again, this is where Bill was able to give me more advice. So once the PC was finished, I had a calibrated image of the Cocoon Nebula. At this point, you can adjust the image to your liking and taste. I typically use Photoshop to do this post-processing work and try not to spend too much time working the image. Here is my final result.
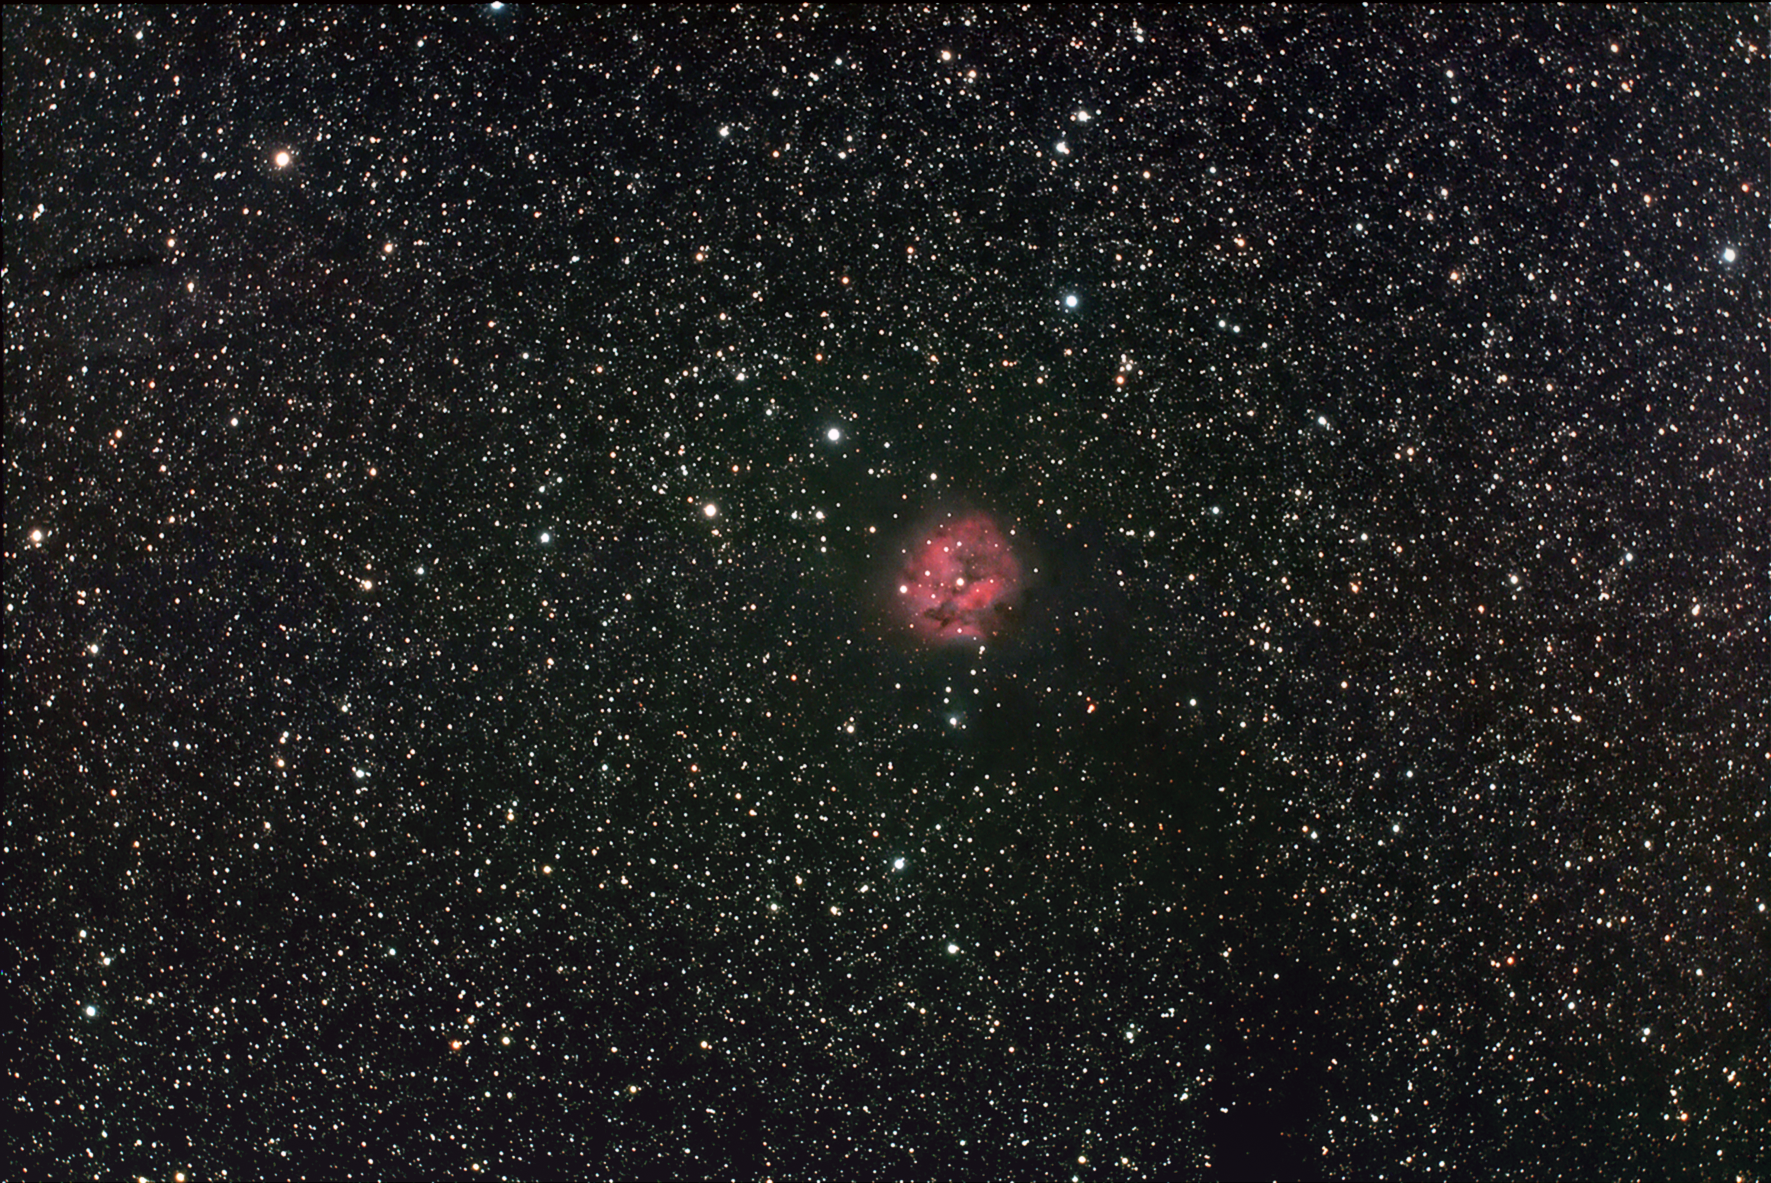
Cocoon Nebula. Credit: Brian Van Liew
There is a lot more that I haven’t covered in detail. If you would like any advice or would like to know how to do your own imaging, feel free to talk to me at one of the monthly meetings or you can email me at brian@princetonastronomy.org. I can’t make any promises that I will be able to answer all of your questions, but I will try to do my best.

